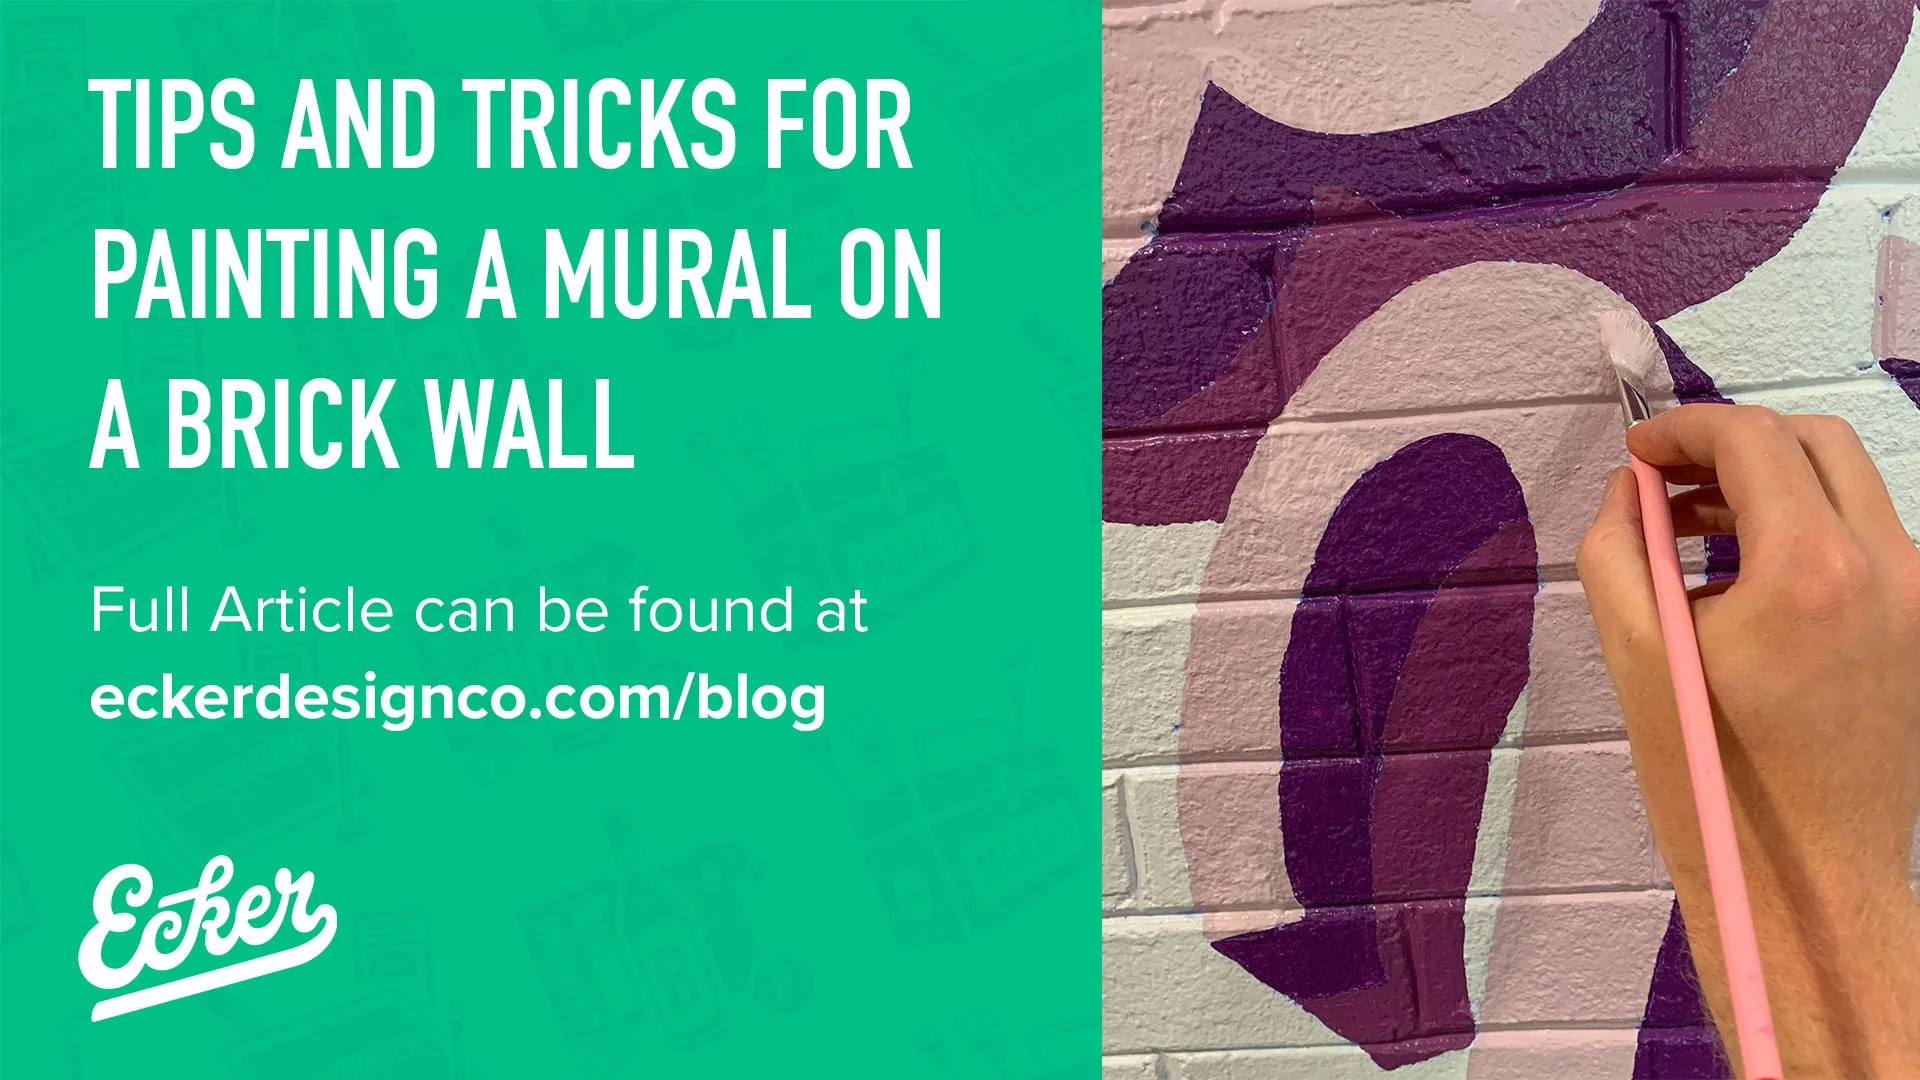
Tips and Tricks for Painting a Mural on a Brick Wall
This week I am diving deep into one of the more challenging surfaces for mural painting. As you may have guessed, I’m talking about brick walls.
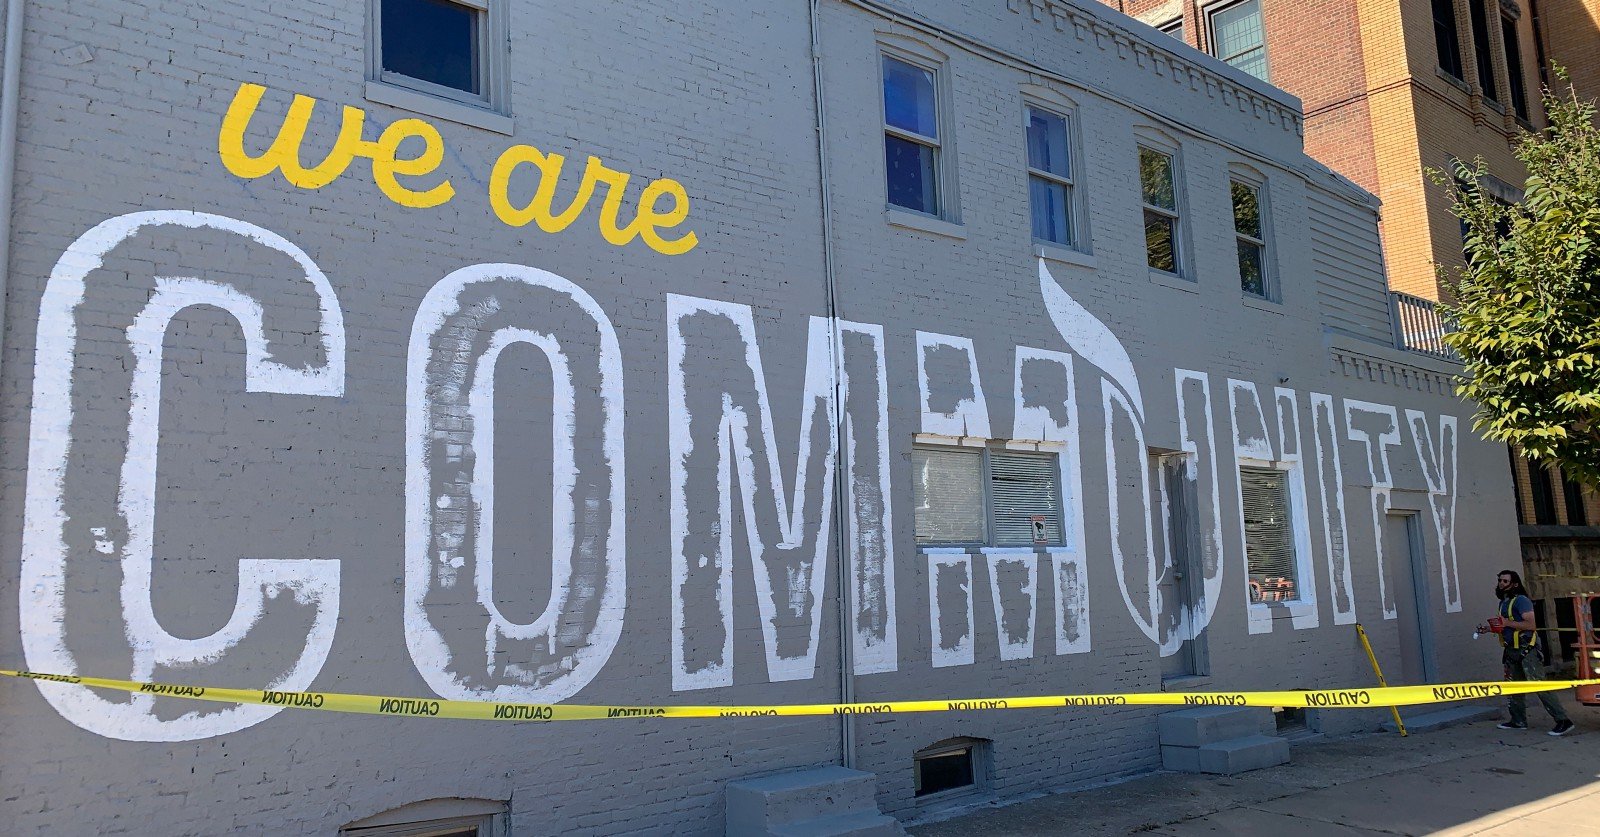
There is nothing more satisfying than finally finishing a brick mural. However, getting to that finished product can be quite the challenge. Some of my favorite murals I have painted have been on brick walls. Painted type and lettering on brick just looks so classic.
Having learned from trial and error, I wanted to share with you some helpful tips and tricks that can make your life a whole lot easier when you are about to tackle a brick wall with paint.
Prep Work
Prep work for all murals is important, but it is vital for brick walls.
Most brick walls are over 100 years old. This means that both humans and the weather probably have not been the most gentle or kind to the surface. In 9.9 times out of 10 you will be dealing with an extremely textured brick surface. Painting on these surfaces is more like giving a stick and poke tattoo than pulling clean lines.
Keep reading for helpful tips for prepping your brick surface to receive your wonderful art work!
Prep the surface — Walls can be dirty! Make sure your wall is cleaned properly in order for your fresh paint job to have maximum adhesion. You may even have to scrap and/or power wash the surface. This may seem excessive, but doing so will help your artwork to have a long lifespan. If the budget allows, you could even look into getting some of the brick and grout filled in.
Paint the background — Prime and paint the entire background first. Doing so will give you an easier surface to work on when you have to paint those fine details. Oftentimes I will outsource this to a contractor as they can get this done quickly using a paint sprayer.
Use the brick line to your advantage — In most cases bricks are level, so definitely take advantage of this by using these lines like a grid. Have a long set of letters? Use one of the brick lines as a guideline for the tops of your letters. Please just be sure that the brick lines are indeed level, as very rarely they can be slightly off. Then if you use the line your design will be affected by the builder’s poor craftsmanship.
Strategically position fine details — During your site visit and prep work take note of the more worn sections of the wall. Some brick walls look like they have been beaten with a baseball bat! Just do the necessary prep work and avoid these areas for your fine lines and smaller type.
Execution
Now let’s talk execution. Every wall is different and will require a slightly different approach, but here are some things that should get you going on the right track.
Bring all your brushes — You never know what nook or cranny you might need to get into. Having a wide range of brushes will really help you out here. I typically like to use stiffer and worn brushes for brick as they help you get into all those tough spaces! I invested in some Wall Hog brushes from Flying Squirrel Brush Co and they have been treating me very well. You just have to make sure you thoroughly clean them after each use! If you don’t want to make that investment out the gate, check out your local art store, grab a couple of angled finches, and give them a whirl!
Use two brushes at once — This may sound crazy but this can be an extremely efficient technique. Painting the surface of a brick will be the easiest part but the grout can be tricky! Having a smaller brush in your other hand will allow you to get into those spaces while maintaining some crisp lines.
Roll anything larger than four inches in width — I used to HATE using paint rollers. Slapping the rest of the paint on the wall with a paintbrush after you outline a letter can be so satisfying. Then I learned that for wider letters and designs you are actually doing a disservice to your beautiful work. Although everything looks good initially, the lifespan of your work will suffer. By rolling you get a better coat of paint on the wall that will last many years longer than filling things in with a brush. You will save time and energy and not have to work so hard painting the inside gaps as a thick grade roller should get most of these spaces.
Note that you may come across even more challenges than those for which I have presented solutions. Just know that half the fun of painting on these challenging surfaces is discovering the obstacles and then coming up with a solution for them. You will eventually look back at them and have a great laugh.
Hopefully you will take these tips and be as prepared as possible for painting! If you want to see my painting process check out the case studies below that feature brick murals with time-lapses.
If you have other questions that I did not address here, please reach out and let me know! In the meantime, happy painting and remember to keep your cool as brick walls will physically and mentally challenge you as a painter!
Did you enjoy this content?
If so make sure to sign up for my newsletter using the form below and you will be the first to be notified when more articles like this are published!


